Configuration
Launch Docker Desktop and close/hide the window.
(Docker needs to run in the background for VSCode to use for devcontainers.)

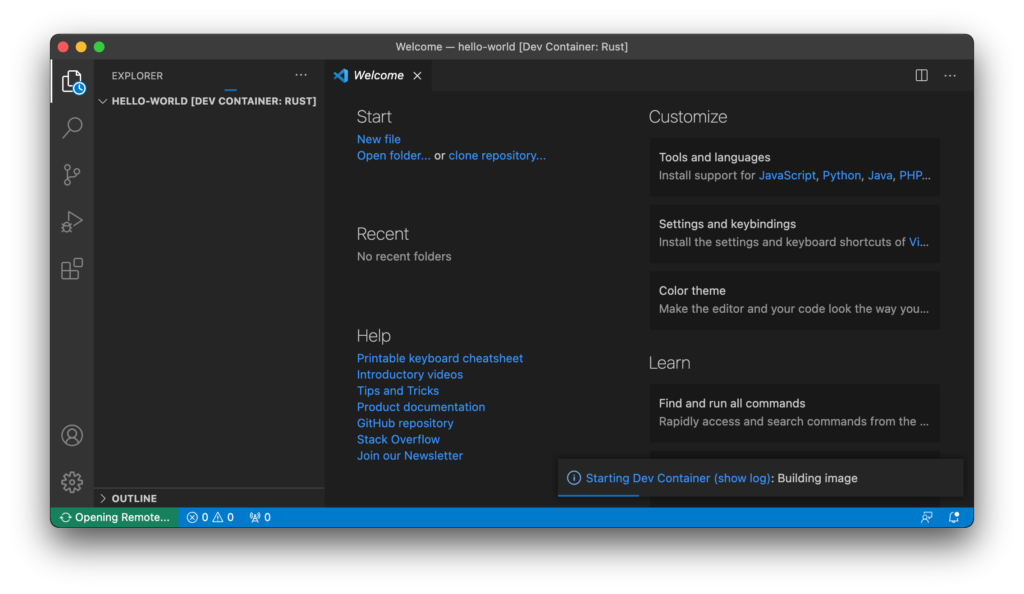
Launch Visual Studio Code.
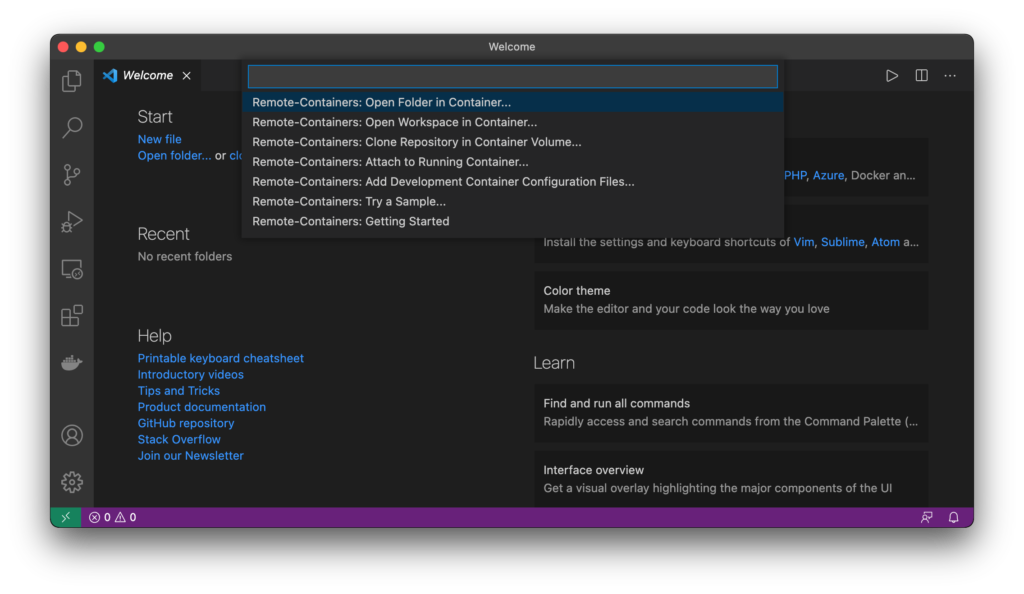
- At the bottom left corner of the window, you’ll see a green button with two arrows pointing to each other.
- A menu will then appear at the top, select “Remote-Containers: Open Folder in Container“.
- From there, open the
hello-worlddirectory that you created with cargo.
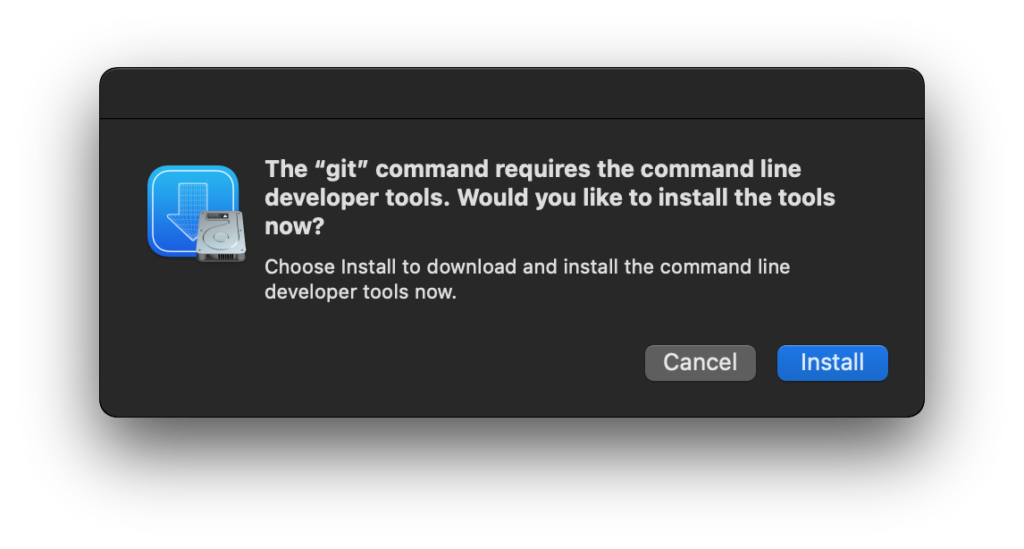
You may be prompted to install additional software.
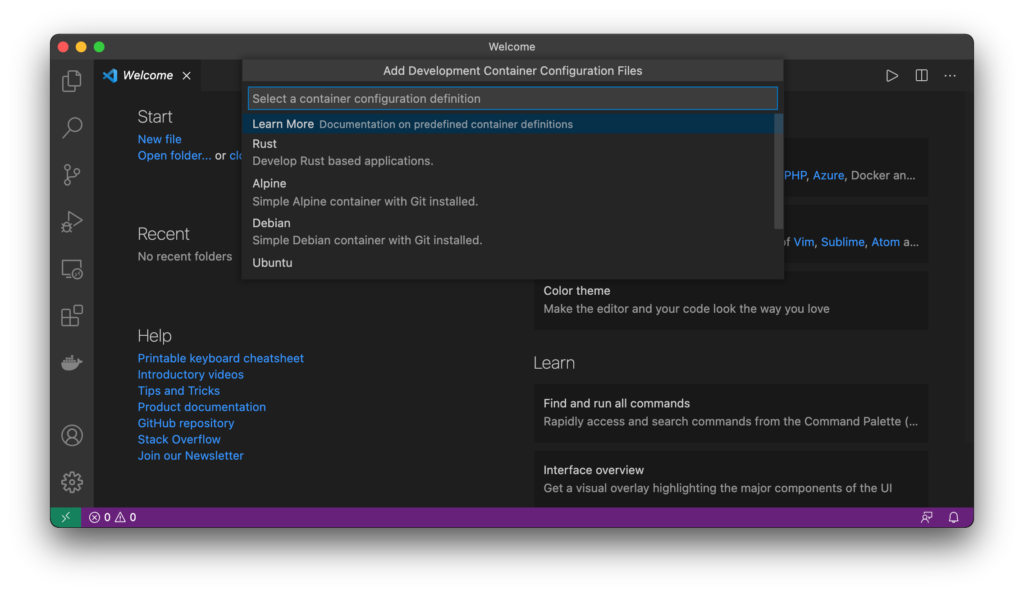
VSCode will prompt you to choose the type of Development Environment, click on (or search for) Rust.
The development container’s Docker image will now be built for you.

In the bottom right corner, you will be asked if you would like to install recommended extensions into your project.
Click on the Install button to install Code Runner, which is a part of what was built in the configuration above.

If you were not automatically prompted to install extensions, then you can click View→Extensions.
In the search box, type @recommended:workspace
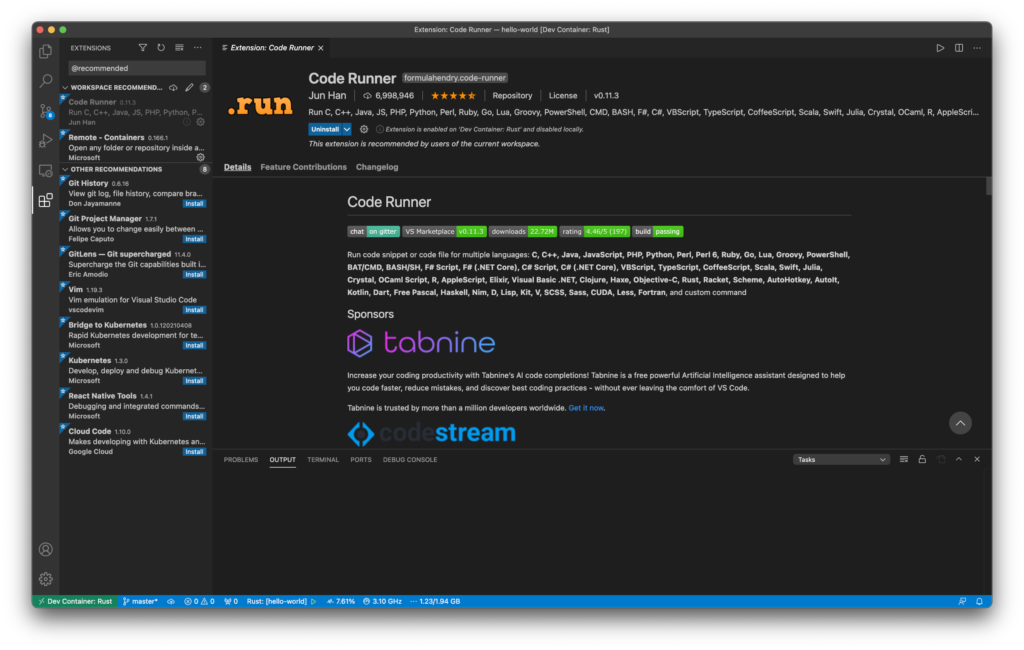
VSCode will inform you that Code Runner has now been installed into your new project.
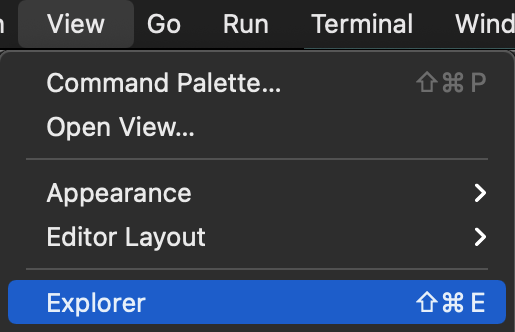
To return to your project, click View→Explorer.
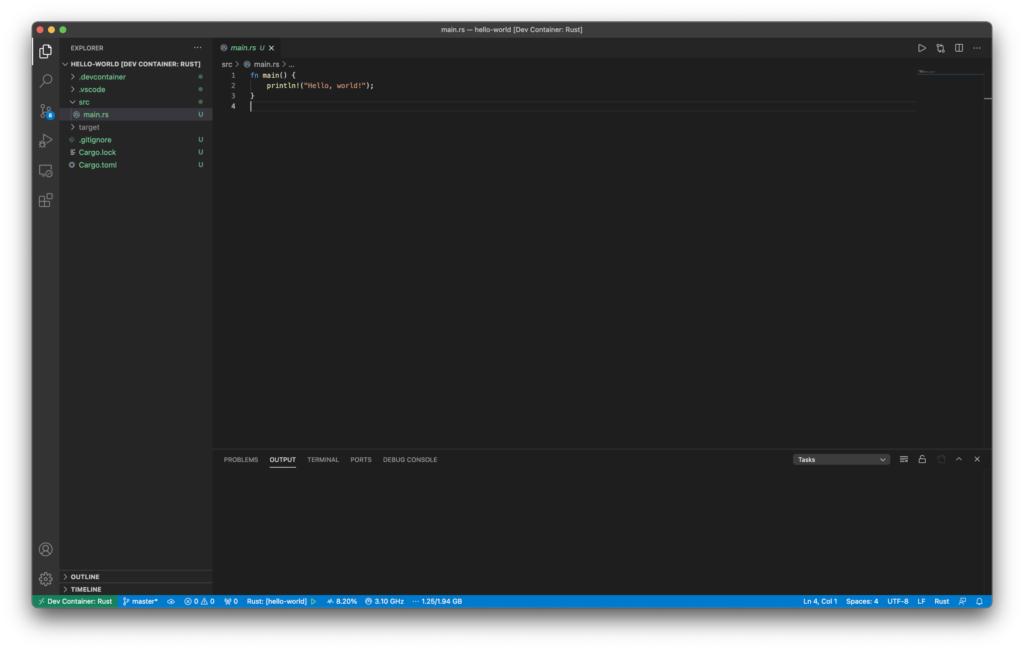
Click src→main.rs
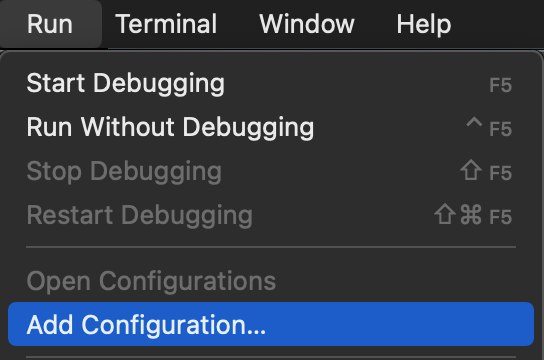
Click Run→Add Configuration.

VSCode will use your open Rust source file, main.rs, to detect Cargo.toml.
Click Yes to proceed.
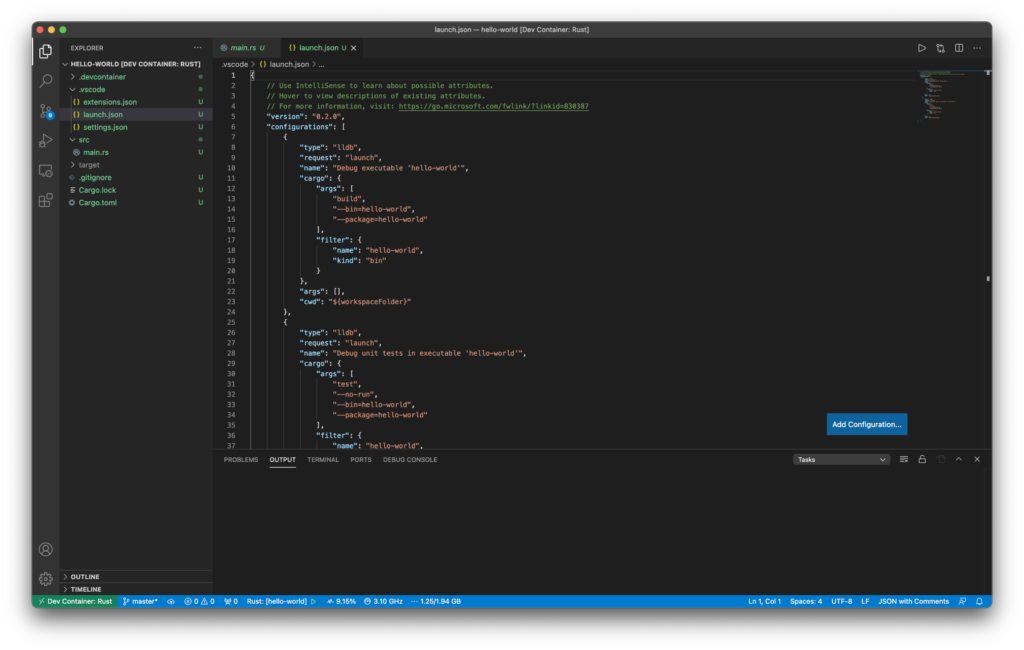
.vscode/launch.json will be created, and then opened.
You may close this file, and proceed to the next step.
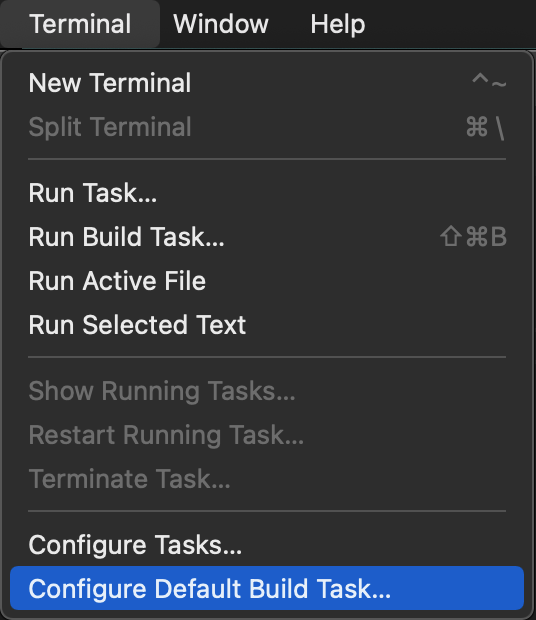
Click Terminal→Configure Default Build Task.
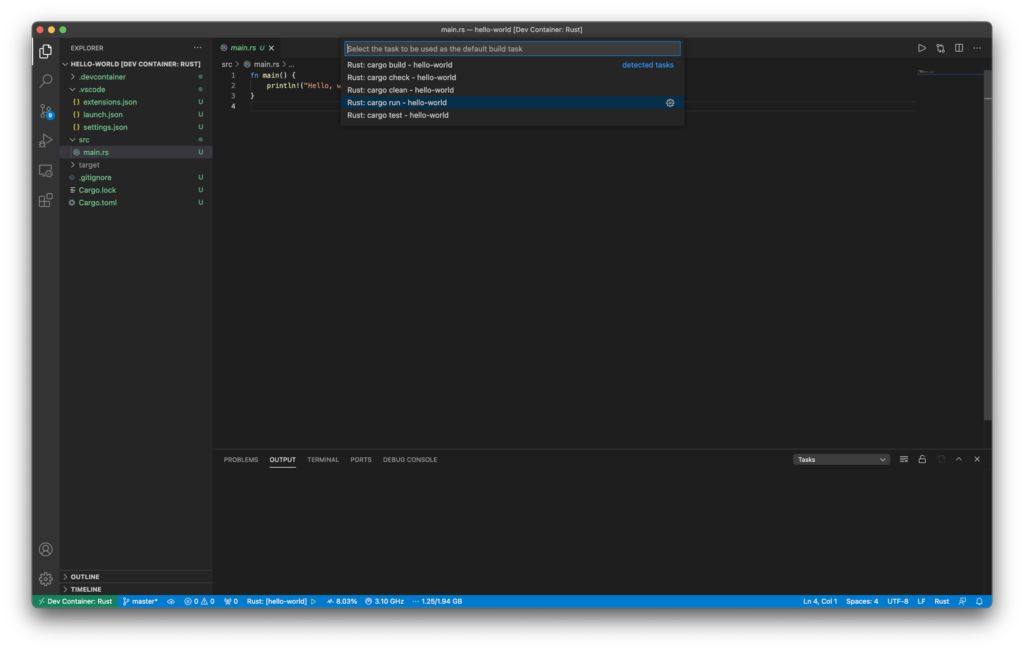
VSCode will ask you to select a task to use as the default build task.
Select Rust: cargo run.
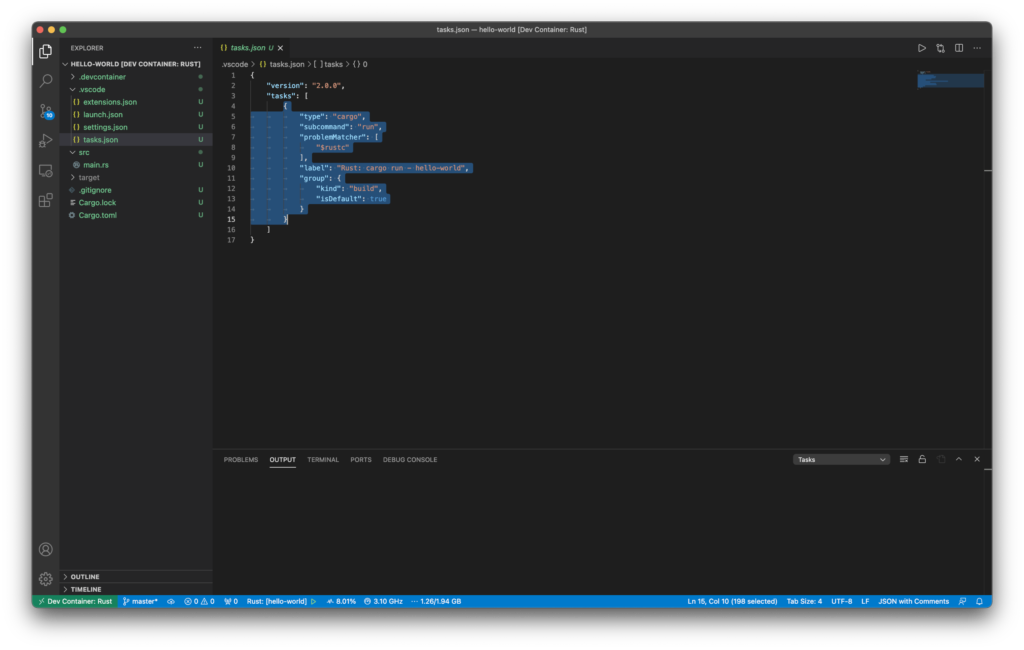
.vscode/tasks.json will be created, and then opened.
You may close this file, and proceed to the next step.
Table of Contents