Preparations of parts
Drilling
There are four holes that you will need to drill with the 1.25″ hole saw bit, with two on the left side and two on the right side of the bin:
- Left side of the bin — Learn from my mistakes and be sure to leave enough distance from the top that the lid can be closed!
- Left pupa ramp
- Right pupa ramp
- Right side of the bin
- Entrance through the lid — Try to position this so that it’s not hitting the string hanging across to hold the corrugated cardboard for females to lay their eggs.
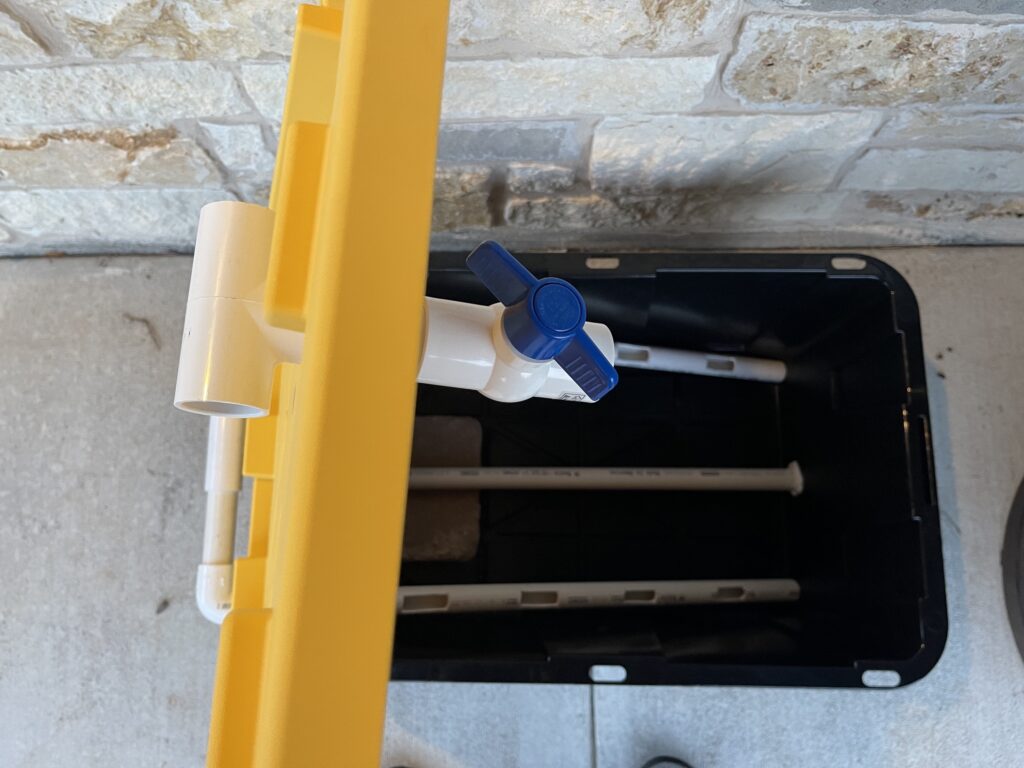
- Drainage — Drill high enough off the ground that the valve won’t be pressing against the bottom when you set your Black Soldier Fly Larvae bin on the floor.
Pipe segments
I cut the 10′ pipe into the following segments:
| Quantity | Length | Purpose |
|---|---|---|
| 2 | 31.5" | Exit ramps for the larvae when they reach their pupa stage. |
| 2 | 5.25" | Manifold pieces that the exit ramps connect to. |
| 1 | 16.25" | Vertical drop pipe for the pupa to fall into the bottle. |
| 1 | 28.25" | Drainage pipe |
| 1 | 2" | Entrance pipe. |
| Quantity | Length | Purpose |
Before cutting the pipe into multiple segments, it may behoove you to use some of the twines and mark these lengths on them. Then, use the marked string to verify that these measurements are acceptable for your bin.
Drainage pipe
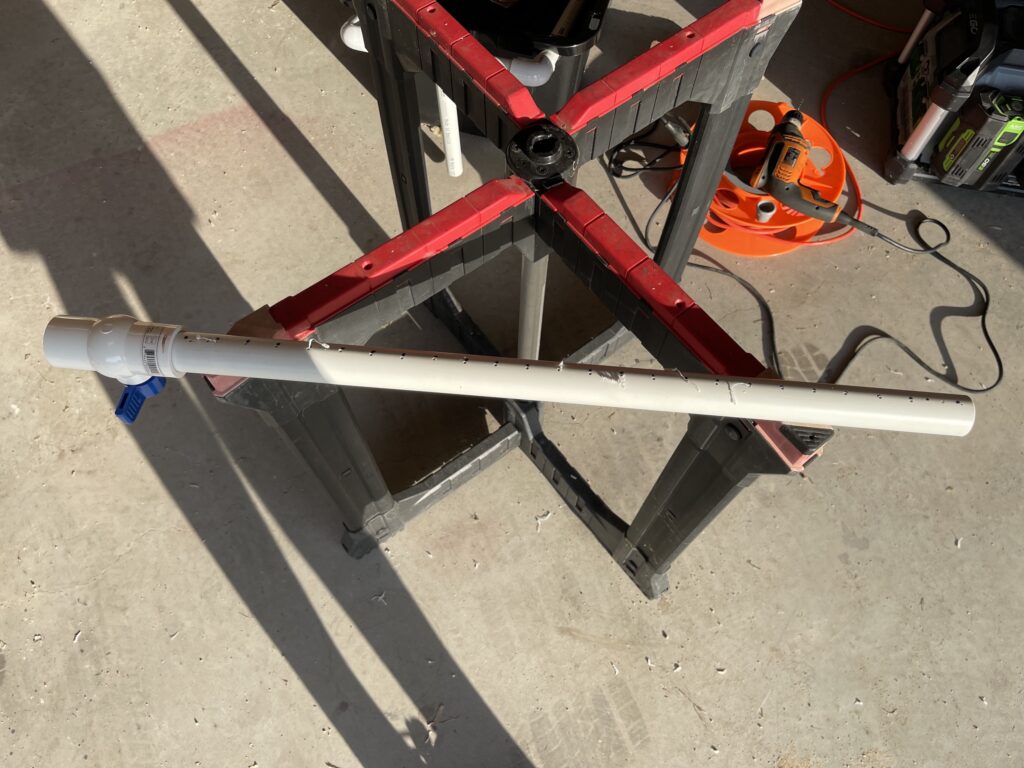
Using the 1/16″ bit, drill a hole on the bottom of the pipe every inch (or, if you’re motivated, 1/2″) for the section that will rest in the bin.
Pupa ramps
Using the Dremel with the cutting wheel attachment, make four slits in both of the ramp pipes; this will aid the larvae in exiting the bin when they’re ready to pupate. I tried to space out the ~28″ inside the container with 2″ cuts at:
- 4 – 6″
- 10 – 12″
- 16 – 18″
- 22 – 24″
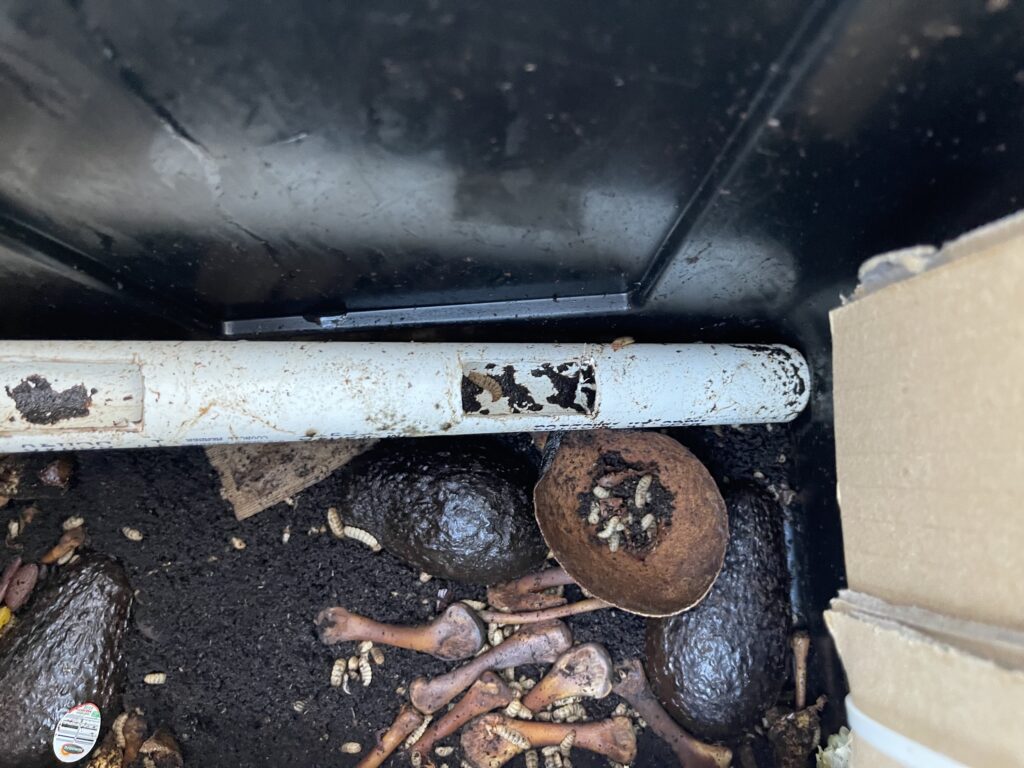
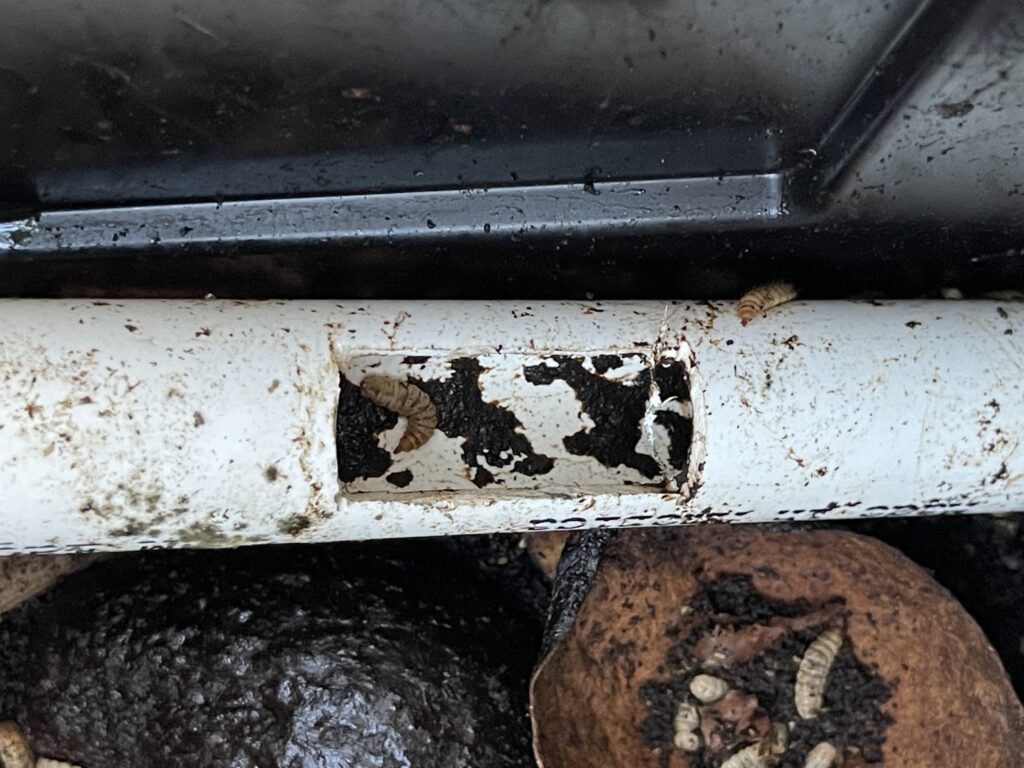
Table of Contents